A 350 Lunati for a Tiger!
An Article by Tim Ronak
February, 2002
Page 3
Clearance the Block for the Rod Bolts
Second Before final assembly and machining you need to test fit the Rod and piston assembly and ensure that you have sufficient clearance for the connecting rod bolts to clear the lower edge of the cylinder bores. This was not a major issue as many of the locations where the rod bolts contacted the block there was minor interference but I chose to clearance each area anyway to provide a safety margin All that is really necessary is about 0.050 inches and I probably have about 0.100 inches at the closest point. I did do this grinding before the final hone to size for the pistons as I did not want any burrs “clearancing” the piston skirts needlessly. My pistons were individually fitted with .005 - .006 of piston to wall clearance using a block plate to duplicate the stresses of the cylinder head bolts so that you are likely to have as round a hole as possible once you torque the heads in place. See pictures Rod Bolt Clearance (1) & (2).
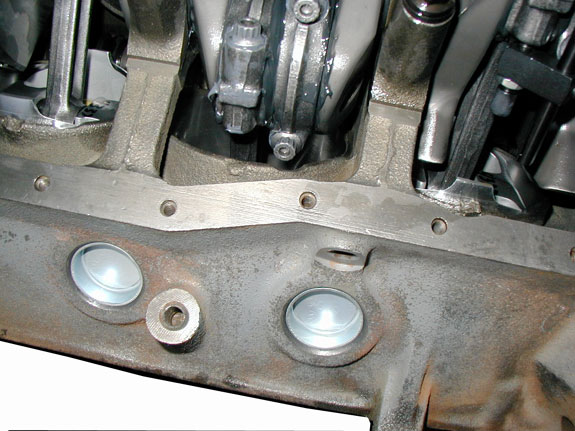
Rod Bolt Clearance (1)
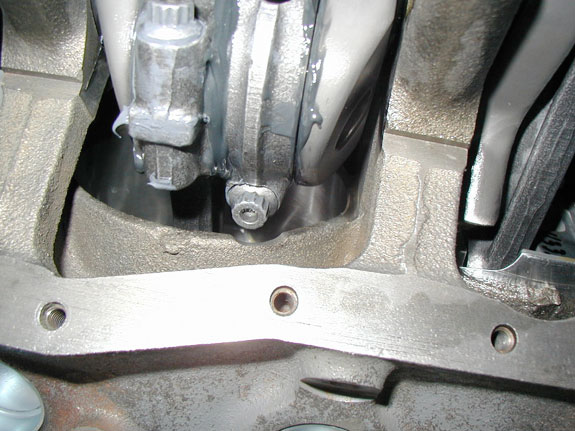
Rod Bolt Clearance (2)
(Please note: The pictures show the clearance at final assembly, as I had not taken any pictures early on. I am trying to organize this into a sequence of events approach and unfortunately the building took took precedent over the photo documentation.)
Extra Grinding can be done with respect to the oiling system. The factory system is very robust and this is not necessary but I just take a sandpaper roll anywhere the flow of oil is going to pass a sharp edge. As I am going to be using an adapter due to header clearance I also clearanced the threaded filter bolt as the adapter I was about to use had the bolt protrude into the oil path the amount ground away. There are better adapters and in fact I may change this later. Notice the picture Oil Passage Radius.

Oil Passage Radius
Step one after all of the grinding and machining is to clean and re-clean everything. I use a pressurized wand that sucks non-flammable solvent up and blows it under air pressure to blast and scrub everything clean. It is very helpful! Once every part is surgically clean you can start the bottom end assembly.
 **
**