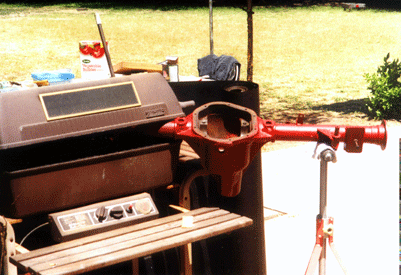
 The rusty metal primer I applied to the rearend never seemed to completely dry so I literally Bar-B-Qued the thing in a failed attempt to bake on the finish.
Tiger 101
An Article by Tom Witt
February, 2003
Page 5
 The rusty metal primer I applied to the rearend never seemed to completely dry so I literally Bar-B-Qued the thing in a failed attempt to bake on the finish.
Rump roast anyone?
Setting the pinion depth took a bit of guessing and tricks. Getting the bearing race back out was quite difficult. Eventually I heated up the case with a propane torch and put the race in the freezer. I guessed on the appropriate shim value and quickly dropped everything in and took a reading. It dropped right in but even though this was accomplished in about 10 seconds or less it was still difficult to get the race out using an appropriate size block of wood and a 5 pound hammer. Thankfully I got the shims right on the second try.
I was also warned that getting the used gears to wear in the same spot is very difficult and that they might be noisy. It is recommended to use white lead between the teeth to see the mesh pattern. Well, where do you buy that in this environmentally correct world? I tried tooth paste, the wife's face cream, paint, car wax and a few other things I can't recall. I could somewhat see using my kids water color markers, but not to well. Finally in desperation I carefully used fine valve grind compound and was able to see the scuff marks that were very close to the original wear marks. I figured that the grind compound would help to break-in the close, but slightly new wear area, though I did go over the gears with 600 grit paper to smooth them somewhat. Only time will tell how they sound
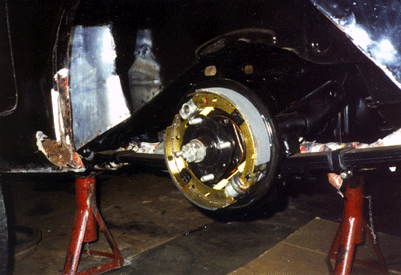
I POR-15ed the springs and made the clamp rubber pieces from sheet rubber. For the buttons that seperate the springs I used appropriate size faucet washers and filled the center hole with grease. For the first time in about a year I was putting something back on the car instead of taking it off. Prior to installing the axles I slightly honed the bearing retention area as I nearly knocked the car off the jack stands trying to get them out earlier with my homemade puller.
 Finally something is going back on instead of off. Note rust/bondo at the rear sill, it was much worst on the other side
Back to the grind
 My next goal was to move from the center of the X member to the firewall area and the rocker areas as well. That underside of the car has so many nooks and crannies that I opted to sandblast most of it. This is a most difficult task with the car on jackstands instead of a rotisserie. After about a week of blasting, wirewheeling etc. it was all bare metal. The floor was not as bad as many would have thought. Only the drivers side was questionable. In the end I elected to fill in the holes with the MIG welder and live with the pockmarked, but still seemingly sturdy metal.
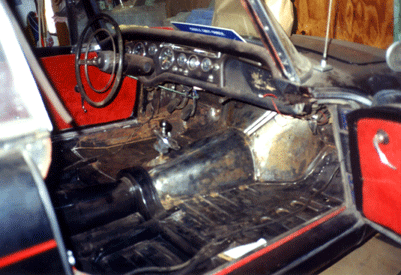
Rear floor top and bottom is done, finishing up the mid section.
Note the Elvis slept here maroon velvet door panels
 The area where the inner wheel well meets the firewall also had rust issues that needed to be patched. The greatest difficulty was not to blow holes in the old metal where randomly it was thin. There was a LOT of weld-grind, weld-grind. The efforts of a perfectionist with the results of a novice. If you were to call me persistent it might be a complement or it might indicate me a fool.
Who said Tiger's have interior ventilation problems
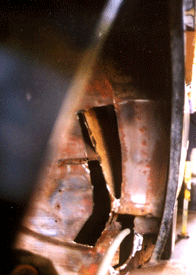
Though somewhat pockmarked from rust the driver's side inner rocker was acceptable, but the passenger side was too far gone. Rather than pull it all apart I choose to cut it where the metal was good and found a guy to make me up an overlapping Z shaped piece that was welded in to complete the inner sill. It was $40 for the first piece and though I didn't use it I had a second one made for $5. Sadly, the store lost all the pictures I took of this operation.